Trail and Animation

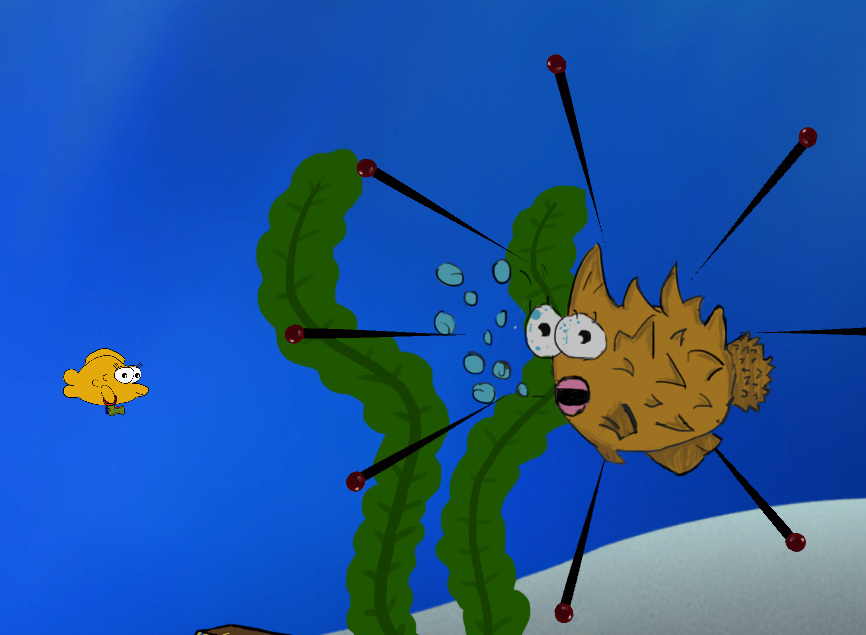
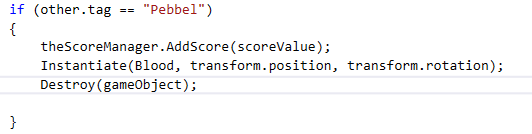
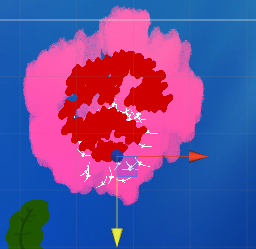
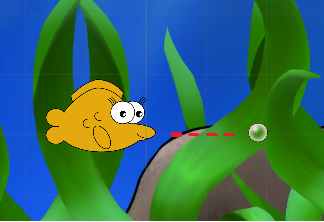
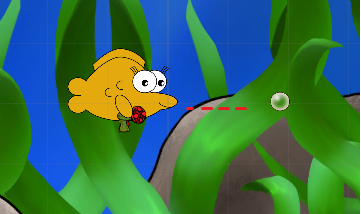
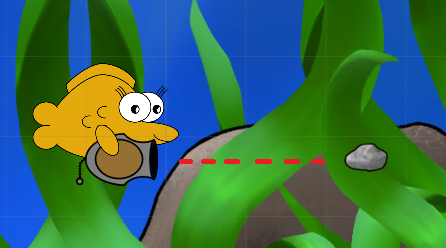
This week I have been doing some work on expanding the enemy waves, adding in a trail effect on the 3rd enemy’s bullets so that they are easier to see and an animation for the chest that we are now using for the power-up to spawn in.

Trail

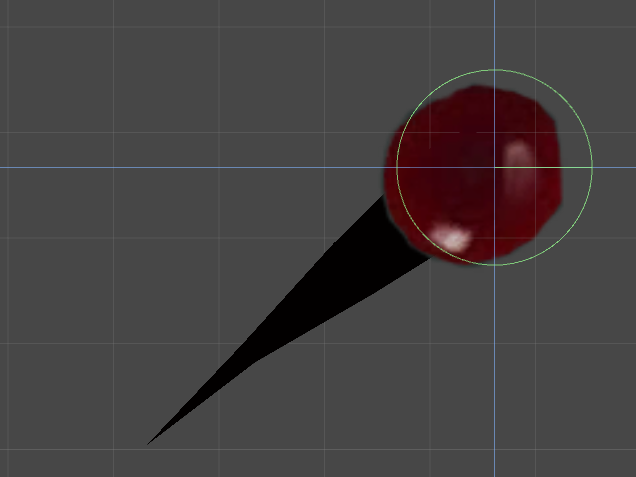
The work I did in trail effect was to do some research into what would be the easiest way to do something like this. As I have been coding a fair bit the last weeks that was the first thing that I considered but did not find a good and easy way to do this. After some more googling I found that there was a good way to do this built into Unity. This was a renderer that is called “Trail Renderer”. After finding this the work was easy to implement for a test run.

Trail2

The work I did on the animation for the chest was a bit harder as I do not have any experience on animation or the way animation works in Unity. Again, I found help in the Unity forums and with google. Fist I took the sprite frames that one of my artists had provided me with to build a animation controller and an animation. You do this by creating an empty GameObject in Unity and just dragging on the sprites there as one object.

When this is done, you can open a window called animation and tweak the rate of the frames and how long the animation is going to be. As I already had a set time for when the power-up would spawn this was just a problem of doing a timed animation for the set time that I needed.

Chest

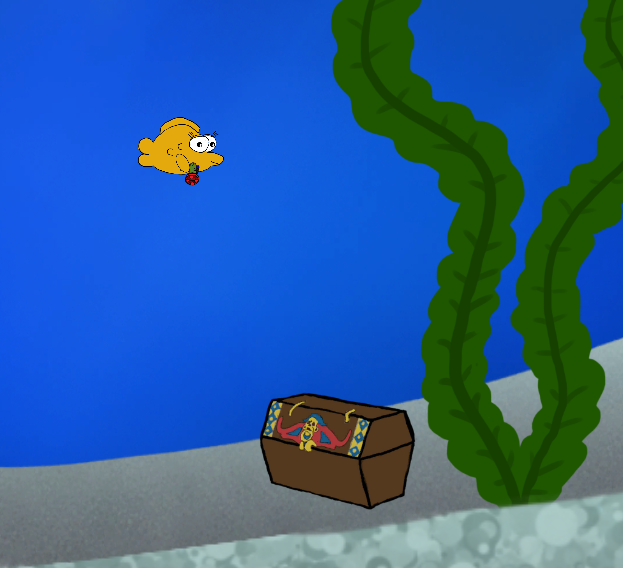
I wanted the chest to open a short time before the power-up spawned. So, that it would look like it was coming out of the chest itself then close after that. The animation itself works well now but the problem that is now left it that we need two new sprites so that I can layer them in Unity. This is so that it will look even better as now it looks like the power-up comes from the back of the chest. So, breaking the chest sprite into two different sprites is something that still needs to be done so that the lid and the chest are separate. To help the visuals of the animation.

Feedback and power

This week I have design, code in and implemented a feedback system with a particle system for when an enemy gets hit by our power-up bullets.

I have done this with the help of art provided to me by our artist Felipe and googling ways to code this in into unity. This was also done with much trial and error from my part as I am not a programmer.

The way the code works is just by instantiate a specific game object that I made with the particle system that already exists in unity. There is already code before I did this that will delete that enemy after it is hit by the power-up projectile.

code

I had to take the sprite art that Felipe made for me and make it a material and add that to the particle system renderer. This in turn made it so that it would play after the enemy was hit by the power-up projectile.

blood

Why I did this was to help with some of the stuff that we had gotten back from the latest playtest. This was about the feedback from the power-up. As we wanted the player to feel powerful when using the power-up the idea of adding in a big effect for kills with this weapon felt like the way to go from a design point of view. As this would provide the player with a visible feedback on a kill that they made. Doing it in this way also made it so that we did not really have to change the way the power-up worked as some of the comments we got where: “It does not seem that powerful” and other comments in that manner.

Instead of adding a AOE damaging bullet or some other type of effect like that. That would have taken too much effort to rebalance the game and many new lines of code.

At first when I worked on the new feedback system I was just using a small blood sprite that Felipe had made for me but this was something that felt a bit to small so I asked for some more art specifically some fish bones to “spice up” the effect. By adding in this small extra particle effect as part of the first on the effect became much more visceral and satisfying.

bloodbone

This was all in all a productive week.

Menus

This week I have been doing some different things to clean up our game. Adding things for convenience like a pause menu and a control window to explain the inputs to the player.

pause

The reason I wanted to add a pause menu is so that if someone is playing and they have to leave the game for a short time they do not have to quit the game and loose the high score that they are working on. I also deiced to add in other than just a resume button a restart and a quit button. This so that if a player feels like they have missed some points or think that they can do better they do not have to die before restarting the game. The quit is for the same reason but just to leave the game instead. The way I went about creating this was but just adding a canvas in to unity and with some small bits of code bound the non-active canvas to a button. As I am not a programmer myself I did this with help from tutorials and some fast google searches. Then testing and testing until I made it work. To keep with the art of other buttons we already had in the start menu I just copied them and changed the text and code so that they did what I needed them to do instead.

control

When it came to the controller window I tried to use the same way of doing that as I did with the pause menu. As I did not want to create a whole new scene just for a controller menu. I did not have any art to represent the input buttons that we use for our game and did not want to burden our artist with this as they already had much to do this week. Instead I took the art we had for the buttons in the game and resized them in to something that could represent what I needed them to do. I became more of a hazel then I wanted but after some fiddling it became something that I felt would be easy to understand.

Gun-play

The gun-play is a big part of the game Selfish and as it is impotent the have been a lot of work and ideas around how to do it in a right way.

I have worked and are still polishing this mechanic but how did this process start then?

fishbubble

First I was thinking and working on what and how the PC (player character) would fire “bullets” to begin with. The first idea I had was having the PC shot bubbles as this would also help with conveying the feeling of being underwater even more. This however was quickly scraped as the concept for the game talk about “FISH WITH GUNS”.

The group liked the idea of having the PC firing bubbles as the main bullet. Trying to work that in I had different ideas but landed on just giving the PC a bubble gun instead of having a “real” gun firing bubbles as this looked better and more “realistic”.’

fishbubblegun

The bubbles themselves was at the beginning just moving forewords in a straight line, but as we continued to work we feel that it would make more sense if the bubbles would float to the top in an arc after being fired. This again to give a more “realistic” feel.

Bubbles also worked in a different plain that being fish do not breath air, so firing air bubbles also made sense in that perspective.

fisharc

When it came to the power-up we talked about for our game the feeling became that a more powerful gun in some way was the way to go here.

As a designer, I tried to think about what makes sense in a thematic way. After some back and forth in the group we landed on a cannon. Something resembling an old able it exaggerated pirate cannon I tried to work on how a cannon would work and not completely clash with the rest of the game. We had ideas about of what to use as ammo for it as well. Things like harpoons and just normal cannonballs. In the end, it became “pebbles” from the aquarium itself.

fishcannon

When it came to how the power-up should work we were first talking about having it being “you get hit and loose it” but as we moved away from a health system this was scraped. The we were working on it being time-based. This idea was good in theory but did was not all that fun. Instead we tried an ammo system. This quickly became more fun as if you were good enough you could pick up multiple power-ups and get more ammo and feel even more powerful.

Level Design

I have for some time now been working on a level design document for the shoot em up game that my team and I have picked for this project.

As I do not myself have any real knowledge about coding something like this or how to make a good level or a good level design document at all. I started by just thinking about how other games start a level and how they introduce different types of enemies and power-ups in their game. I also tried to find and read about it as much as possible so that I could get a grip on this.

I started to try getting something down on paper that could represent the level, enemies, PC avatar and power-up as when I started some of these things was not in the game so far.level-design
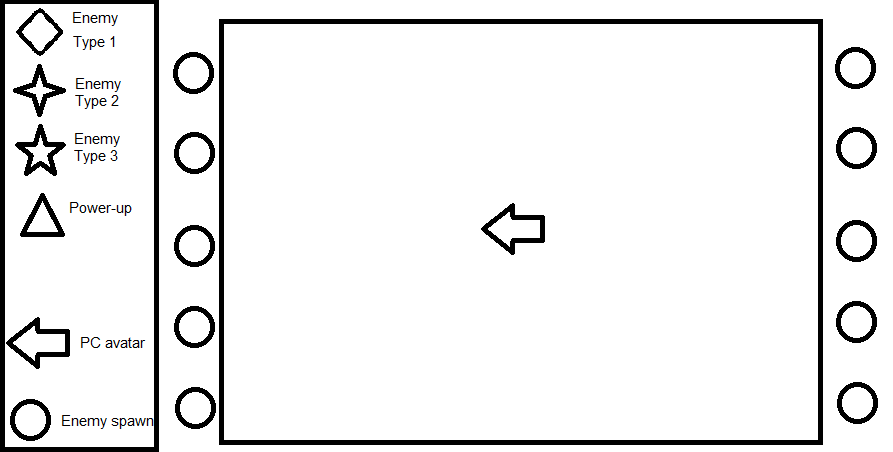
Using this I tried so both show and explain what I was doing with level design to my team.

When it comes to the level design I have been doing so far for the game I have been trying to design a level that will help the player learn how the enemies work before throwing to many of the at the same time.

To begin with I decided that is was probably a good idea to have the player be by them self on the screen so that they can feel the movement of the character first. After this the enemies start to spawn. Not that many at first. One from the left side of the screen and two from the right side.level-design-example
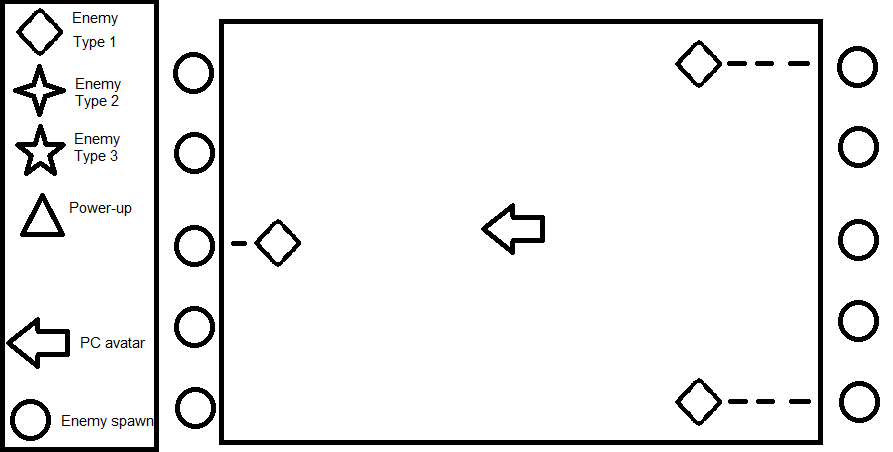
This is so that the player can learn that enemies can spawn at either side of the screen. After this there is a ramp up of enemy spawn so that the challenge for the player goes up for a while. Just as the action is on top the it is time to give a player a reward this comes in the form of a power-up. This just before we give the player a new enemy type to do battle with as well.Level design example powerup spawn.png

As I have been reading and what I have gotten from that is to add some reward for the player as the action starts to top out.

If this is a good way of doing a level design document I really do not know but representing this before we had all our assets in the game. I found that representing everything with just simple pictures and text was the easiest and fastest way of doing this.